
Temperature

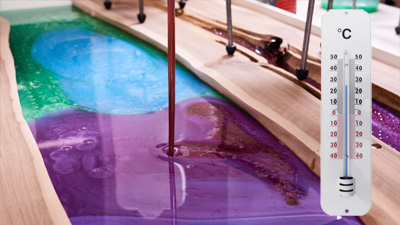
An important principle is that the temperature of the mold, resin, mixing vessels, pigments, tools, room where it is cast should be the same. If some component has a significantly different temperature, this leads to the formation of bubbles in the mixed resin, because the cooled part of the mixture thickens, hardens more slowly and bubbles form at the point of contact. Temperature during casting and curing should not fluctuate too much and should be kept as constant as possible. Professional manufacturers of epoxy furniture have their work spaces air-conditioned, and some of them, who cast larger thicknesses at once, also have water- or air-cooled casting tables (for heat dissipation). In general, the optimal temperature range for working with casting resins is between 20-25 °C.
Penetration
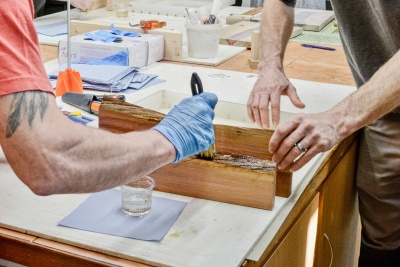 Process of penetration | Epoxio
 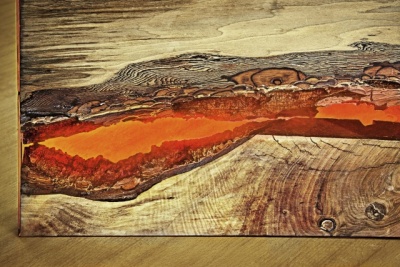 Properly penetrated bark | Epoxio
Before the casting itself, it is necessary to penetrate the porous material (wood, limestone, stone...) in the places of contact with the resin, either with the casting resin itself or with another epoxy-based penetration. When penetrating with casting resin, a longer curing time of the penetrated layer must be taken into account. To accelerate penetration, a compatible Veropal PEN rapid epoxy system is used, which cures in 3 hours. Why does it have to be penetrated? Most cast materials are porous and there is air in the micro-pores. It releases uncontrollably during casting in the form of bubbles that would either remain floating in the resin or just below the surface of the resin. Sometimes these bubbles are fine, but in most cases customers want bubble-free castings. Penetration, whether in the form of casting resin or VEROPAL PEN, ensures that the air in the substrate is sealed so that it cannot be released during curing.
Mixing
Both components of the VEROPAL epoxy system must be mixed with a stirrer that does not incorporate air into the mixed resin mixture. For small volumes, felt rulers or steel scissors are used, which are held by the cutting part in the hand and moved in a rotational motion in the mixed mixture. The shape of the parts that we hold in our hands ensures minimal mixing of bubbles into the system. For mixing of larger volumes, special propellers are used, the shapes of which are adapted to mixing sticky materials and minimize incorporation of air into the mixed mass. It is important to mix slowly but thoroughly, while scraping the material from the walls and the bottom, for about 2-3 minutes.
Plastic ruler for mixing of epoxide 23 cm
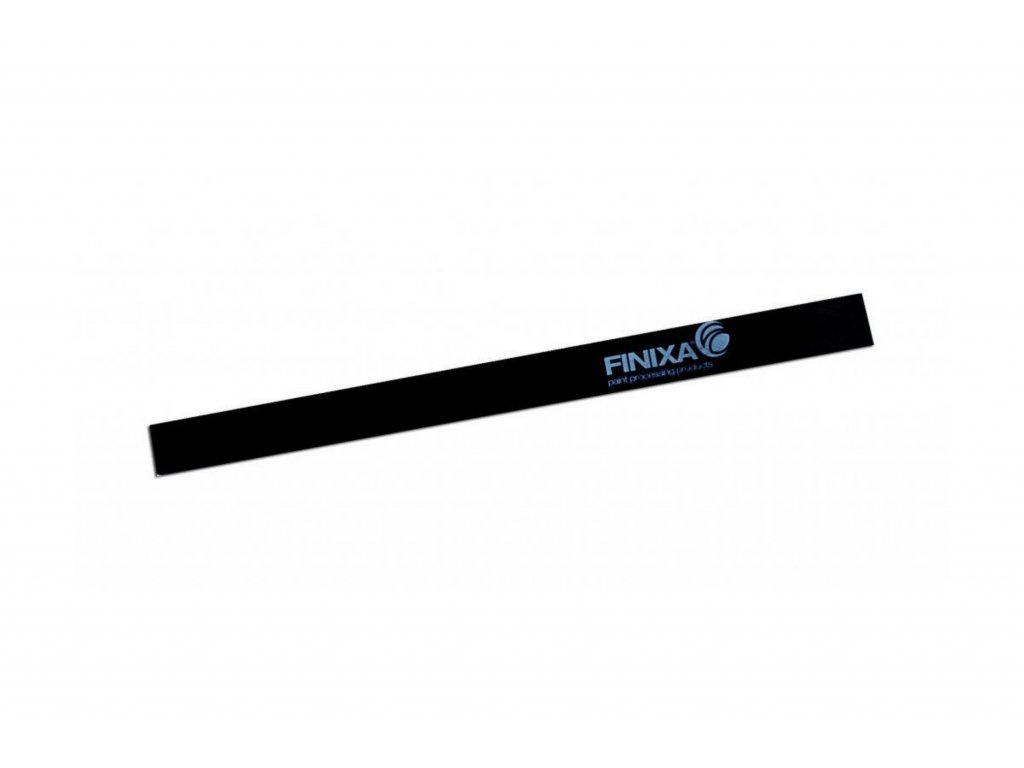
A ruler made of solid plastic suitable for convenient and effective manual mixing of epoxy mixtures up to a volume of 2 L. Adheres well to the walls of mixing containers.
Plastic Propeller for Drill
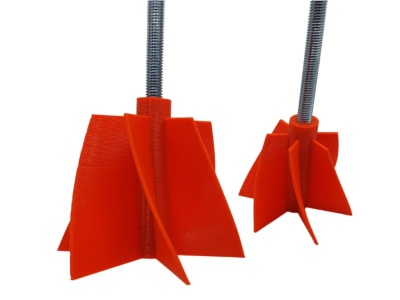
The propeller with a specially adapted shape for mixing epoxy and other liquids ensures fast and complete mixing in the entire volume of the container, including the corners and the bottom. Produces in three sizes.

Individual options for venting the resin
1. Allowing the stirred mixture to stand
The workability time, the time for which the resin can be worked with, varies from system to system and is important to know. With VEROPAL UV PLUS 100 it is 6-8 hours. The advantage of such a long time is that the system self-deaerates very well. Even with more careful mixing, we always mix some air into the mixture. After mixing, let the mixture air out by simply standing still for approximately 30 to 45 minutes. After this time, majority of bubbles will disappear from the system. If we work in a colder environment approaching 15 °C (try to avoid such cases) or mix a larger volume of material, the deaeration time increases proportionally. In this case, we can divide the mixture into several containers in order to reduce the height (thickness) of the material and the system will be deaerated much faster. The material may not deaerate even after 60 minutes at lower temperatures.
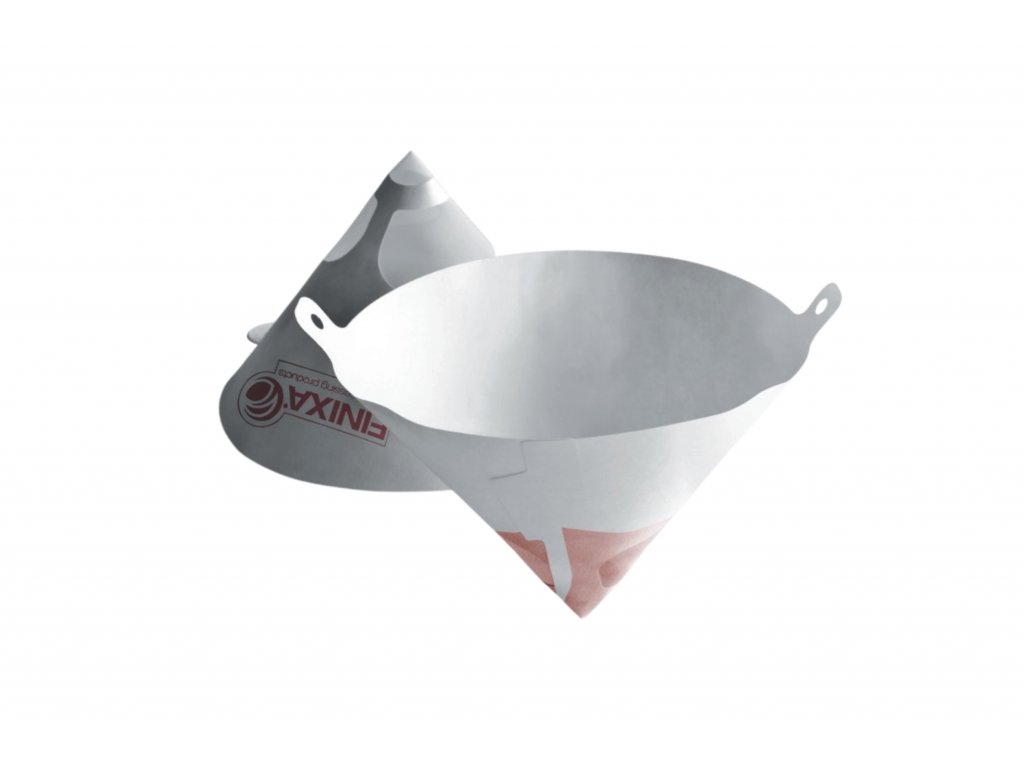
2. Pouring through a nylon filter 190 µm
There is one more interesting trick in case the resin does not have time to vent for any reason. We can pour the mixture into the mold through a disposable paint filter with a mesh size of around 190 µm. Using a filter breaks up most of the bubbles and at the same time catches any impurities that may have gotten into the mixture during mixing. It is also used with metallic pigments, because the microparticles of mica in metallic pigments have a size of 10-60 µm and pass through a sieve with holes of 190 µm without problems.


3. Heat gun
After the mixture has stood and aerated, we can cast. Thicknesses of around 3 cm can be cast in one step and then immediately remove the rising bubbles by blowing with a hot air gun, which burst immediately. You can use a hair dryer or a flame gun – but be careful! – reduce the air flow to a minimum with the hair dryer and the flame gun is an open fire for safety reasons, we do not recommend it when working with chemicals (e.g. you may have a solvent nearby, etc.). When pouring the resin into the mold, air may be reintroduced into the mixture by the very act of pouring. When using a hot air gun, we recommend casting larger thicknesses up to 10 cm gradually 3 cm each and immediately remove the emerging bubbles with a hot air gun. Subsequently, after proper blowing, immediately pour another layer of the mixture, and blow again and so on until the desired thickness. Then cover the mold. This is where the advantage of the long open processing time of VEROPAL UV PLUS 100 becomes apparent. If if we omitted this procedure with a higher casting thickness, it is possible that we would see some small bubbles in the cross section of the casting after hardening. It also depends on the processing temperature (the colder the resin, the smaller the layers for hot air blowing).
4. Using of spray Veropal Bubble Off
You can use Veropal Bubble Off spray instead of heat gun or after using a heat gun (in this case only on the final surface, not between individual layers + ATTENTION! It is a mixture of specific flammable solvents, do not apply a heat gun or an open flame after spraying). After standing and pouring the mixture into the mold, spray the surface of the epoxy with Veropal Bubble Off spray (in a similar style to painting hair or a car fender), which will remove unwanted bubbles by reducing the surface tension of the cast resin and let it stand until it hardens (we recommend covering the poured mold due to dust). Another undeniable advantage of applied Veropal Bubble Off is that it very well eliminates surface defects formede during curing (small surface ripples when viewed against the light). Castings are beautifully smooth after its application.


Debubbling spray Veropal Bubble Off

Special spray for eliminating bubbles on the surface and in the mass of the resin layer.
5. Vacuum or pressure chamber
If you want to deal with resin casting repeatedly, partially commercially or professionally, consider purchasing a vacuum or pressure chamber. The price of a vacuum system, even with a vacuum cleaner, starts at CZK 4,000, depending on the volume of the container. The principle of using a vacuum chamber is that after mixing the mixture in mixing vessel is placed in the vacuum chamber and after starting, the mixed air is sucked out of the entire system. We recommend not to fill the volume of resin to the edge of the mixing container, because as air is drawn from the system by vacuum, the resin foams and could leak out of the container. It is good to monitor the foaming and, if necessary, always release the vacuum slightly so that the foam level drops. After a time when there is no foam on the surface or only a few bubbles, we release the vacuum, equalize the pressures and obtain a mixture completely free of mixed air. The pressure chamber works on a different principle, there the air is compressed (pressure around 4 bars) and the bubbles are compressed to a size where they are not visible, however they remain in the system beeing invisible.
Hardening and crosslinking
Depending on the type of resin, the thickness of the casting and the ambient temperature, the system will gel during hardening (with Veropal UV PLUS 100, e.g. in the range of 8-20 hours). The viscosity of the resin increases. When dipping, for example, a toothpick, the resin begins to pull behind the toothpick when it is pulled out. At this point, it is no longer possible to remove air bubbles, on the other hand, this stage is the most suitable for creating various artistic effects. During hardening, it is not recommended to mix the mixture already in the form, as it might not have time to clear and also after hardening, undulations could occur in the cross-section of the casting. This ripple effect is used when pigmenting with several pigments at the same time (this effect prevents pigment solutions from spilling over the entire volume) to create interesting color variations and effects. After gelation, the casting can be tempered at a higher temperature up to 50 °C to speed up the overall hardening (at 50 °C for approx. 24 hours). In any case, it is advisable to let the casting stand for about 7 days before the final grinding and polishing of the surface. The point is that after 7 days the material is already 100% cross-linked (chemically bonded epoxy functional groups with hardener functional groups). After curing, the fine undulations on the surface and shrinkage around the perimeter of the casting are ground and polished to a perfectly smooth surface.
Final recommendation
The optimal temperature for working with VEROPAL UV PLUS 100 resin is 20-25 °C. At a lower temperature of around 15 °C, the system solidifies very slowly and it is more difficult to vent. It is also possible to work at temperatures around 30 °C, but the onset of gelation of the system will start earlier. At temperatures of 35 °C and above, after mixing the components, there is a real danger of a very fast exothermic reaction (in larger volumes), a change in the color of the system, cracking of the hardened system and overall deterioration of the resin and even the wood. After the gelation is complete, the temperature can be increased up to 50 °C and thus the hardening of the system to the final state can be accelerated.